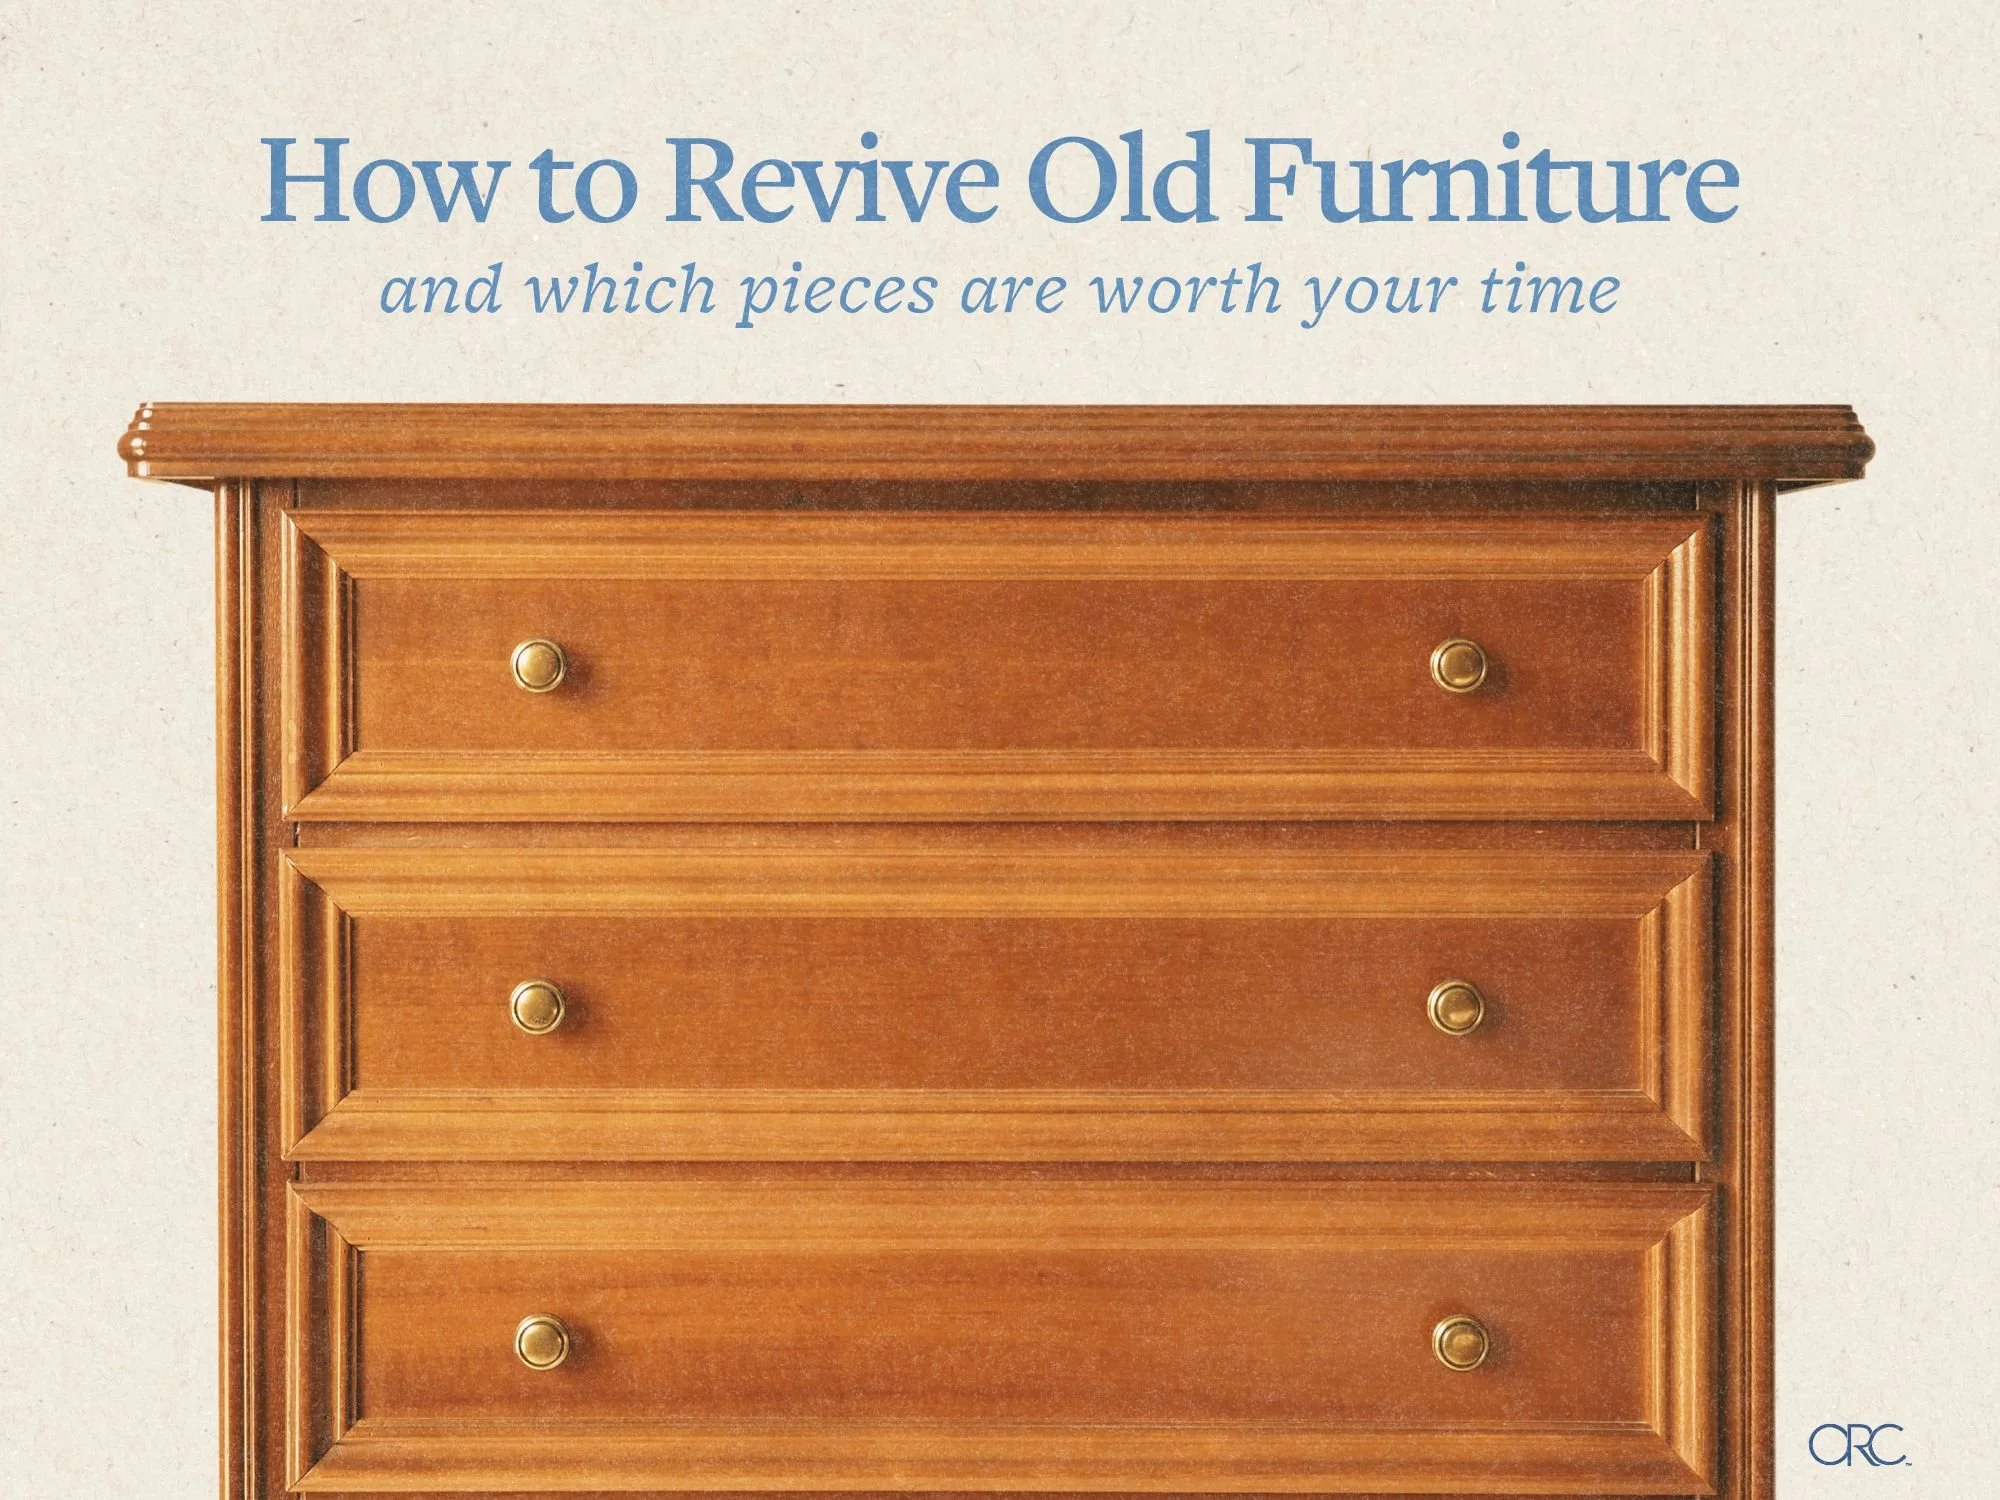
How to Revive Old Furniture, and Which Pieces Are Worth Your Time and Effort
DESIGN
STORY BY VIRGINIA BESHEARS
Imagine you’re scrolling FB Marketplace or meandering through Goodwill and you spot a piece of furniture—it’s gorgeous and a great price, but it’s seen better days and would take some work to get it usable. How do you know if it’s something you can salvage, and if it’s even worth the effort? Are you looking at a quick cleaning and polishing job, or a project that’ll end up taking a month and 5 trips to the hardware store?
The appeal of furniture refurbishment is undeniable. You’re not only keeping an item out of the landfill, but also giving it a second life. Where others see a table with broken legs and water-stained surfaces, chances are, if you’re reading this, you see potential.
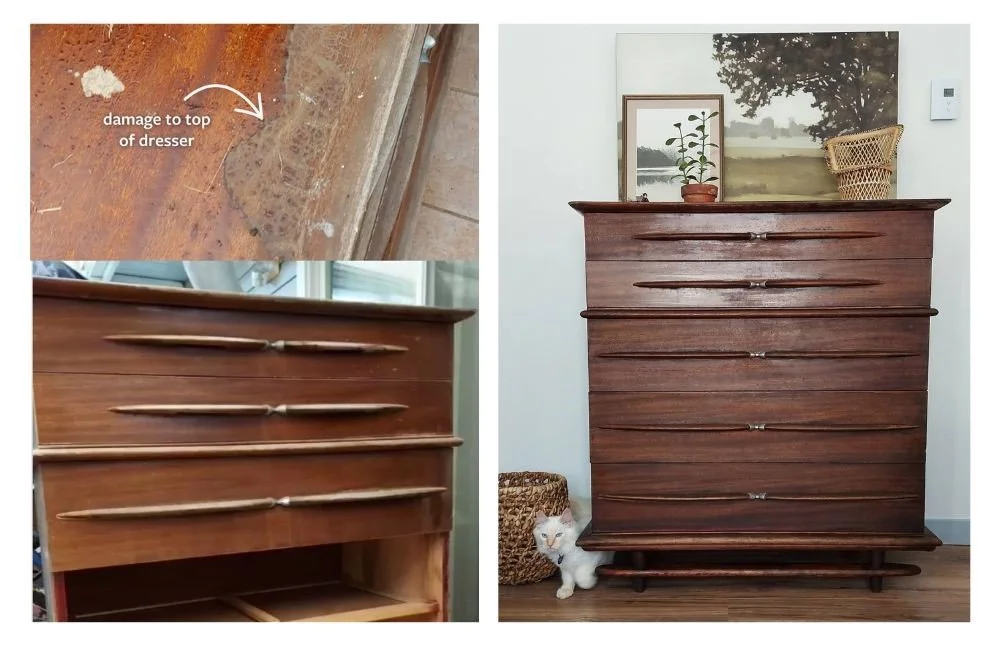
@henrikjunehome got this incredible walnut MCM dresser for free from a monastery. She was able to bring it back to life despite the extensive damage
Restoring vs. Refinishing
Your first step is figuring out what kind of project your piece of furniture will be. When it comes to wood furniture, your main two options are restoring and refinishing.
Restoration is the process of returning a piece to its former glory. Refinishing is the process of removing the original finish and applying a new one (paint, stain, sealer, etc.)
You might choose to restore a piece of furniture when it holds historical, sentimental, or aesthetic value, and you want to preserve its original character as much as possible. Lots of people prefer to save the original wood finish on antique and vintage furniture because older pieces were mostly made with old-growth wood, which has far richer, varied grain and growth rings than the new-growth trees used to make furniture today. If you’ve ever seen a video of someone painting their furniture and the comments are acting like the person committed a heinous crime, that’s why. Personally I’d advocate for restoring anything made pre-1970ish that has a manageable amount of damage. Most pieces from before 1850 are actually more valuable with all the wear and tear--a good rule of thumb is to consult a restoration professional before altering anything pre 20th century in any way.
On the other hand, refinishing is best when the original finish is beyond repair or you want to completely change the look of the piece. Refinishing a nice antique usually decreases its value, while refinishing a damaged or inexpensive piece of furniture can increase its value. It can be harder to know whether a DIY refinishing project will ultimately be worth it, since the process is usually more time consuming but is mostly reserved for less valuable furniture. More on this in a moment.

Becky's Brick Ranch spotted this dresser on the side of the road. The veneer on the outside of the dresser was in great condition under the red paint, but the drawer fronts had to be painted to hide damage. The two-tone effect ended up looking perfect.
The basics of restoration
You’ll start out by washing the surface of the furniture with a wood-cleaning soap diluted in water. You can use a microfiber cloth or a sponge to wipe the furniture down until all the dirt and grime is off, but make sure you wring out the excess water after every time you dip it in the soap solution. Lastly, dry it with a clean towel.
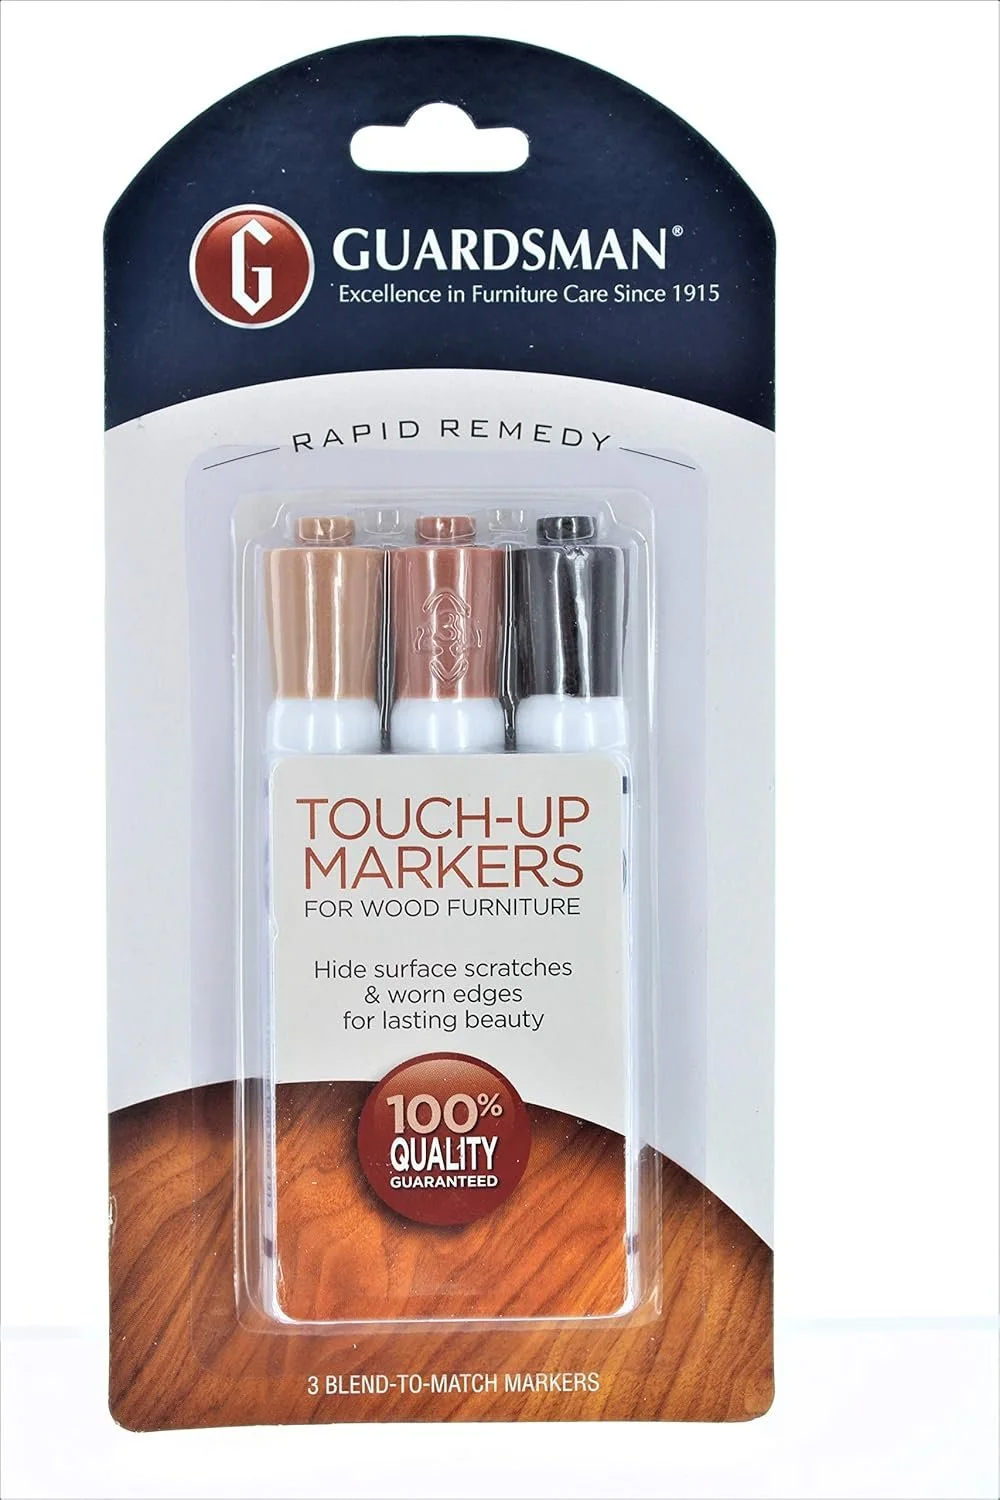
Next, repair any chips or scratches. Superficial scratches can be fixed with a special furniture marker, and bigger chips or cracks can be filled in with epoxy putty or a furniture wax stick. Don’t forget to test your marker or putty in an inconspicuous spot to make sure they match your furniture’s finish.
For stains like white rings, you can try letting petroleum jelly sit on the stain overnight. You can also try some specialized products for wood stains, but they might affect the sheen. I recommend doing plenty of research before tackling stains.
If the joints are coming loose anywhere, wood glue and clamp them, and let the glue set before doing anything else. If your piece has drawers, be sure to check each drawer for splitting or sagging.
Last but not least, it’s time to renew the piece’s luster. If the current finish just looks slightly tired or dull, you can potentially get away with just using a coat of wax or oil. This kind of product soaks into the surface and hydrates it. However, I’d recommend doing a coat of clear wipe-on finish. It takes more work, but it’ll make the piece look brand new and also protect the surface of the wood from future damage.


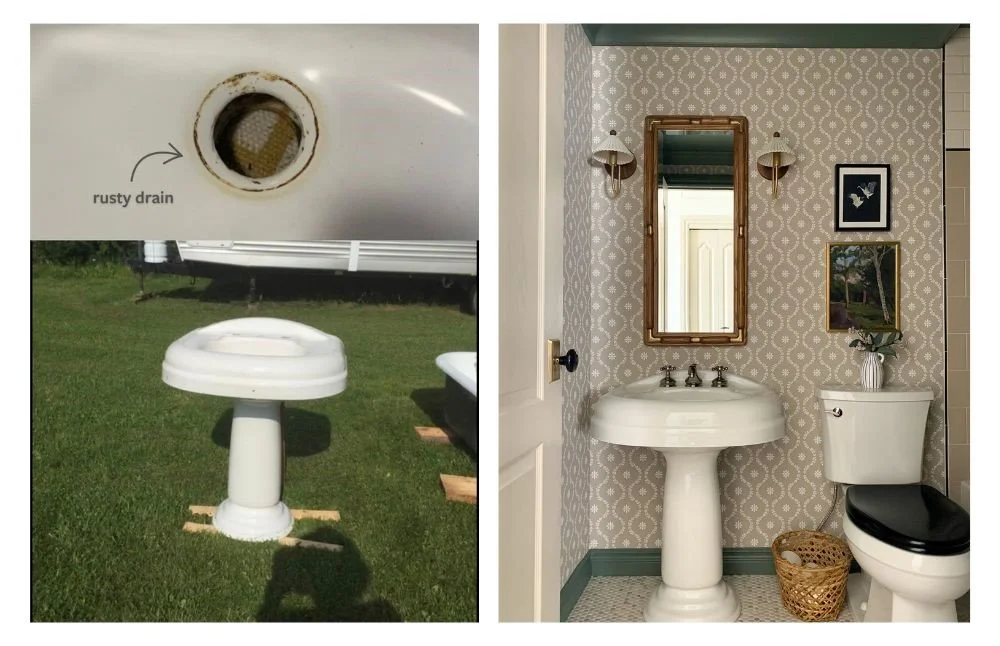
Erin Zubot found this incredible 75 year old cast iron sink on Facebook Marketplace for $75. The stains around the drain turned out to be rust, which completely came out with some Barkeeper’s Friend and a little patience. The sink could NOT be any cuter, I’m obsessed.
The basics of refinishing
Refinishing is a much more involved process, but it gives you total creative freedom. Like I mentioned earlier, original finishes can’t always be salvaged, and some pieces of furniture need to be stripped and painted in order to be usable. Refinishing is also great when you have a piece that’s clearly well-made but looks outdated or boring.
One of the biggest issues you might run into when refinishing (or restoring) a piece of furniture is a damaged veneer. In fact, it’s very easy to be the one to cause said damage to the veneer (there’s a whole Reddit page dedicated to sanding through veneer). Before you start refinishing, you should very thoroughly check if your piece of furniture has a veneer. You can still refinish a piece of furniture that has a veneer, you just need to go VERY easy on the sanding or avoid sanding altogether.
Step one of refinishing is removing the original finish. You can do this by sanding or by using chemical strippers and a putty knife. Both methods are incredibly tedious, and sanding causes a giant dust mess while chemical strippers cause a giant goopy mess.
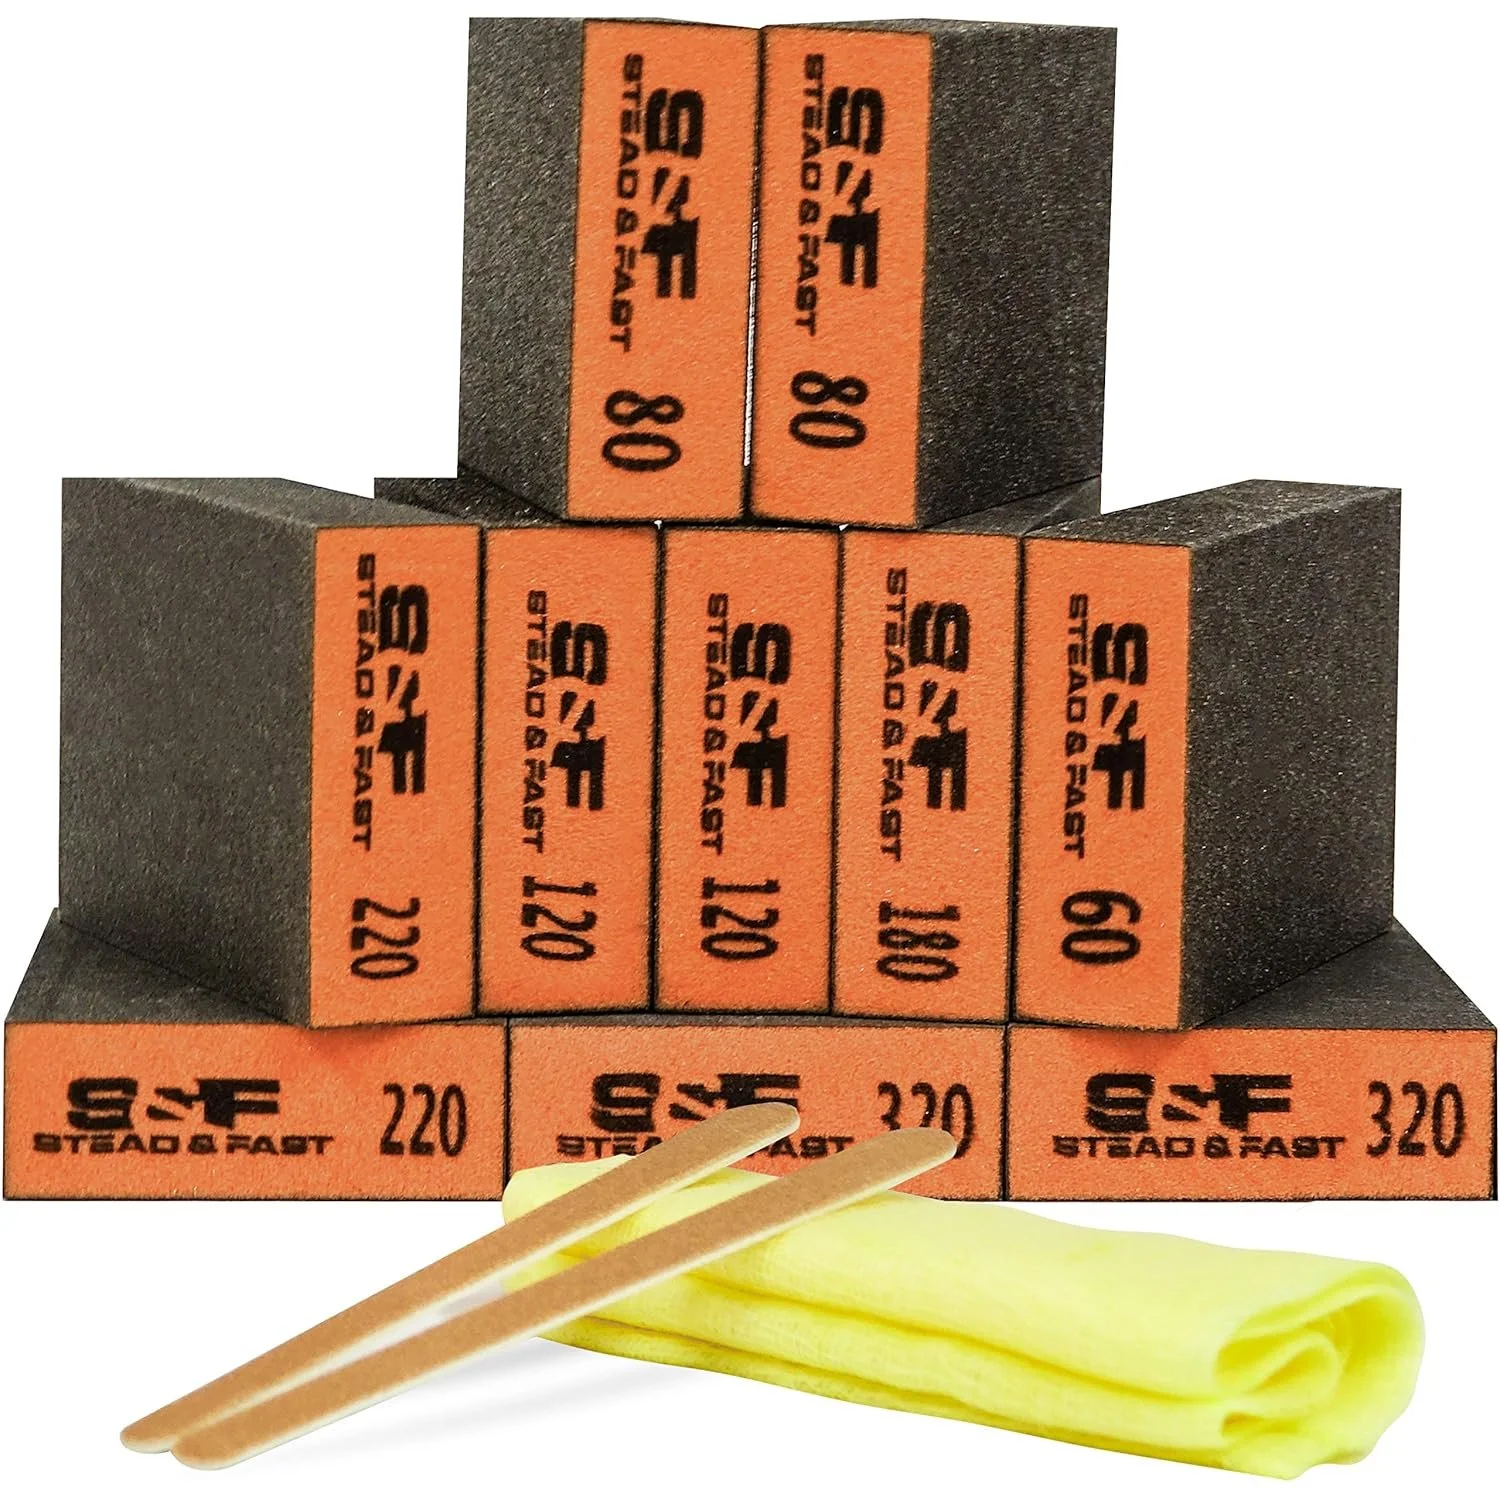
Once the old finish is off, you need to sand until the surface is smooth enough to accept a new finish evenly. A good rule of thumb is to start at around a #120 grit, sanding in the direction of the grain, and work your way up to a #220 grit. Don’t forget to use a tack cloth to wipe the dust off the surface in between grits.
After that, you’re finally ready to start applying the new finish. This might be paint, stain, lacquer, or even something like covering the surface with wallpaper. Once the new finish is dry, you should apply a sealer or varnish to protect all your hard work.


Lisa of Garrison Street Design Studio already had this perfectly lovely dresser in her guest bedroom, but it was a bit boring for the makeover she had planned for the space. In addition to repainting, she added molding and new hardware to give it some oomph.
One last note—you should always work in a well-ventilated space and wear a mask or respirator, but it’s especially important when refinishing old furniture. Also, if the furniture you want to refinish is painted and is from before the 1970s, you should take the extra time to test it for lead before sanding a bunch of toxins into your air!!
Hopefully I’ve given you an idea of what’s possible when it comes to reviving furniture. As always, I recommend watching a bunch of YouTube tutorials before actually getting started on a project. Happy furniture reviving!