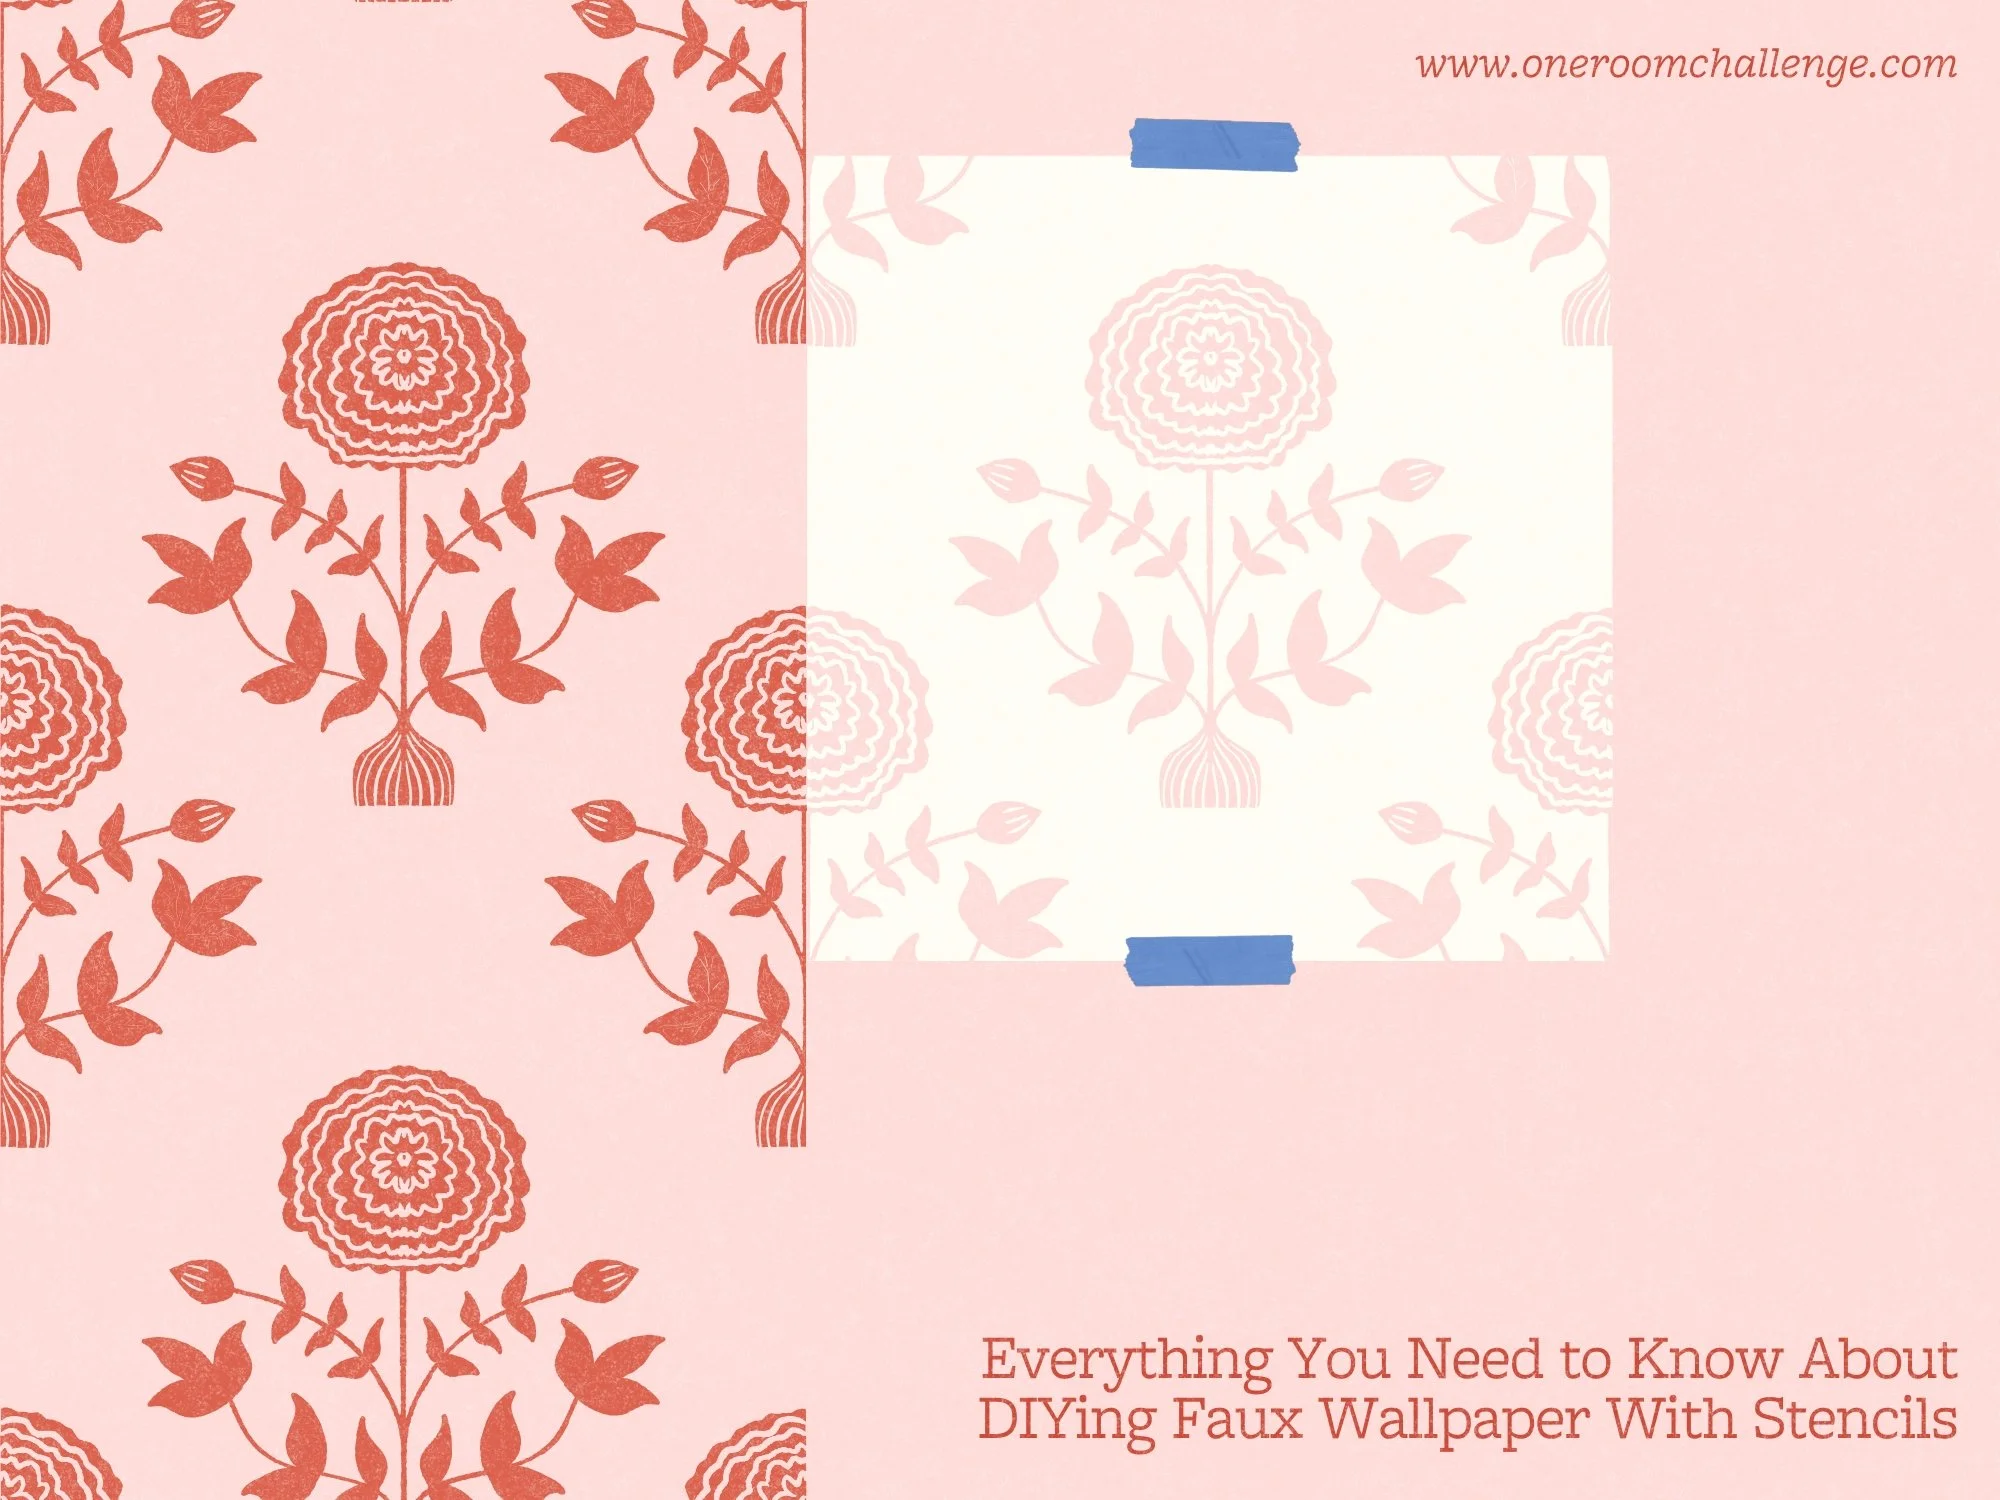
Everything You Need to Know About DIYing Faux Wallpaper
Story by Virginia Beshears
If you love the look of wallpaper but not the price tag or commitment, DIYing a faux wallpaper might be the perfect solution.
Creating faux wallpaper with a stencil and paint is drastically cheaper than wallpaper, and it’s completely customizable. You can even order custom stencils so you can cover your walls with absolutely any design you dream up, and still spend less than you would on wallpaper. If your interest is piqued, here’s what to consider before you start, along with tips to make your project a success.
Pros and Cons of Stenciled Faux Wallpaper
One of the biggest advantages of using stencils for a faux wallpaper look is the cost savings. Wallpaper—especially high-quality or custom designs—can be expensive, but with stencils, all you need is paint, a stencil, and a few tools, making it a much more affordable option.
Another major benefit is the ability to customize colors to perfectly match your space. Unlike wallpaper, where you’re limited to what’s available, stenciling allows you to choose any paint color, ensuring your design works seamlessly with your decor. Additionally, paint is far easier to change than wallpaper, making this a great option for those who like to switch up their interior style frequently. Stencils also work well on various surfaces, from walls to floors, furniture, and even ceilings, allowing you to add unique design elements throughout your home.
Beyond customization, stenciling adds a hand-made, one-of-a-kind charm to your space that mass-produced wallpaper simply can’t replicate. Each application has subtle variations, giving it an artistic touch. If you’re artistically inclined, you might even consider freehand painting your design instead of using a stencil, making your walls even more unique and personal.
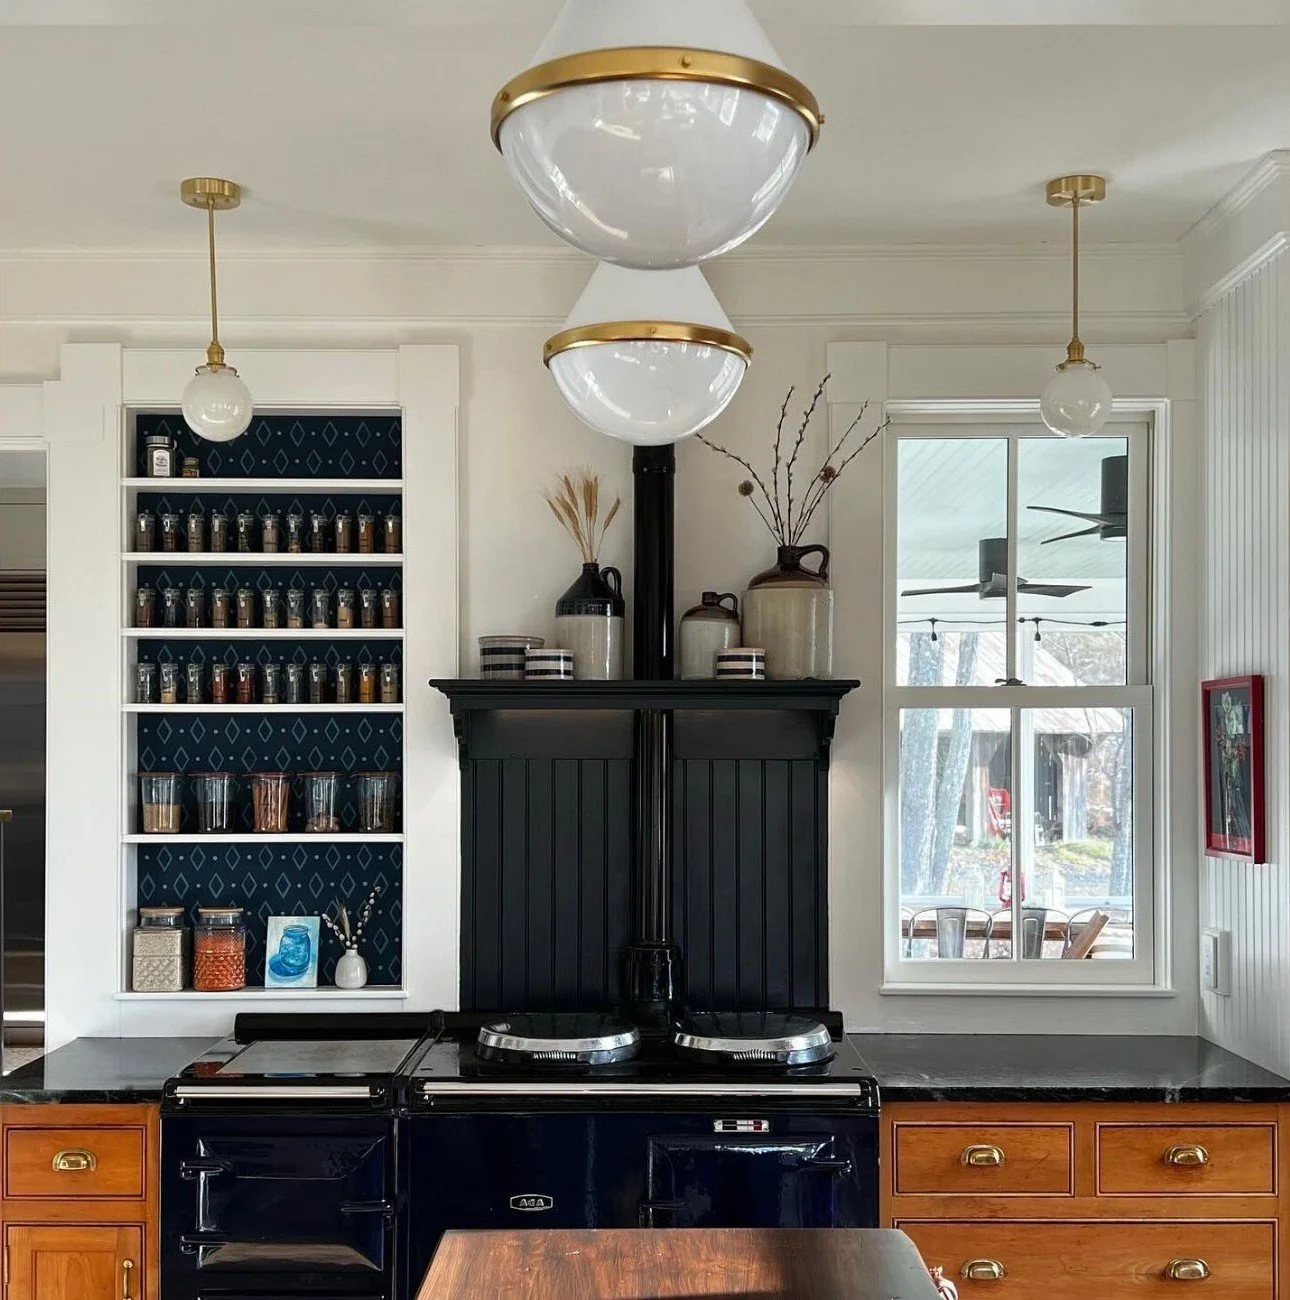
via Maple and Mei
Beyond customization, stenciling adds a hand-made, one-of-a-kind charm to your space that mass-produced wallpaper simply can’t replicate. If you’re artistically inclined, you might even consider freehand painting your design instead of using a stencil, making your walls even more unique and personal.

However, stenciling does come with some drawbacks. The most significant downside is that it’s a very time-consuming project. Stenciling requires patience as you carefully line up each stencil, wait for the paint to dry, and make necessary touch-ups. Speaking of touch-ups, they are almost always needed. Even with careful application, paint can bleed under the stencil, especially on textured walls, making a small brush for corrections an essential tool.
Another challenge is the learning curve involved. Achieving clean, crisp lines takes some practice, and smearing can happen when repositioning the stencil over freshly painted areas. Despite these challenges, with patience and the right techniques, stenciling can produce beautiful results.
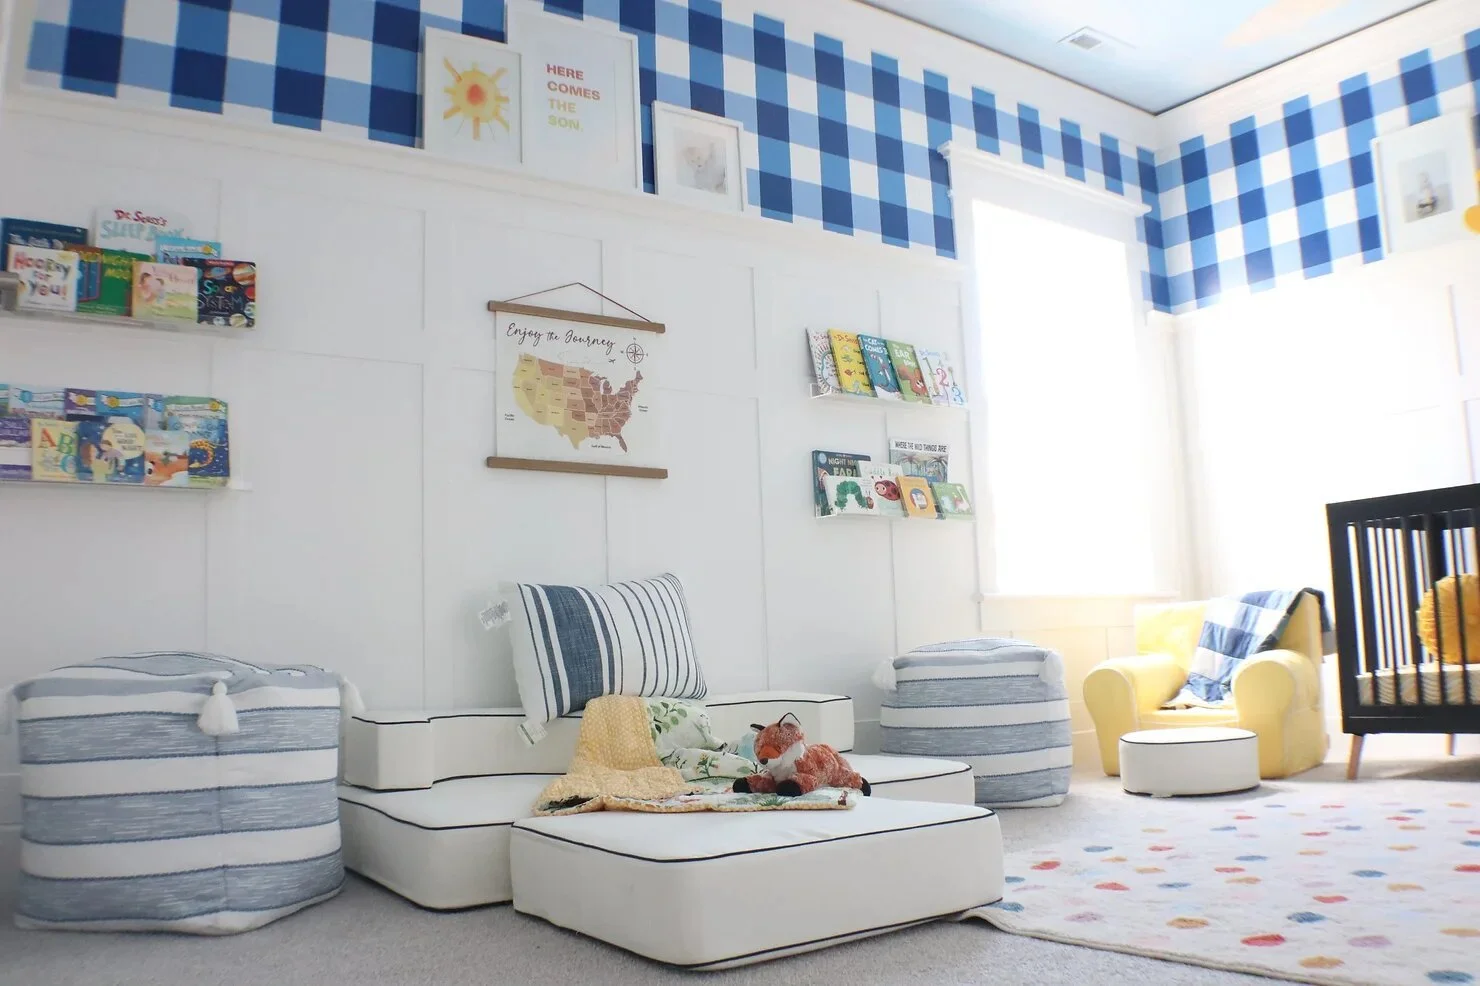
via Luecky Home
Best Spaces for DIY Faux Wallpaper
Since stenciling takes time, choosing the right space for it is key. Some of the best areas for this technique include:
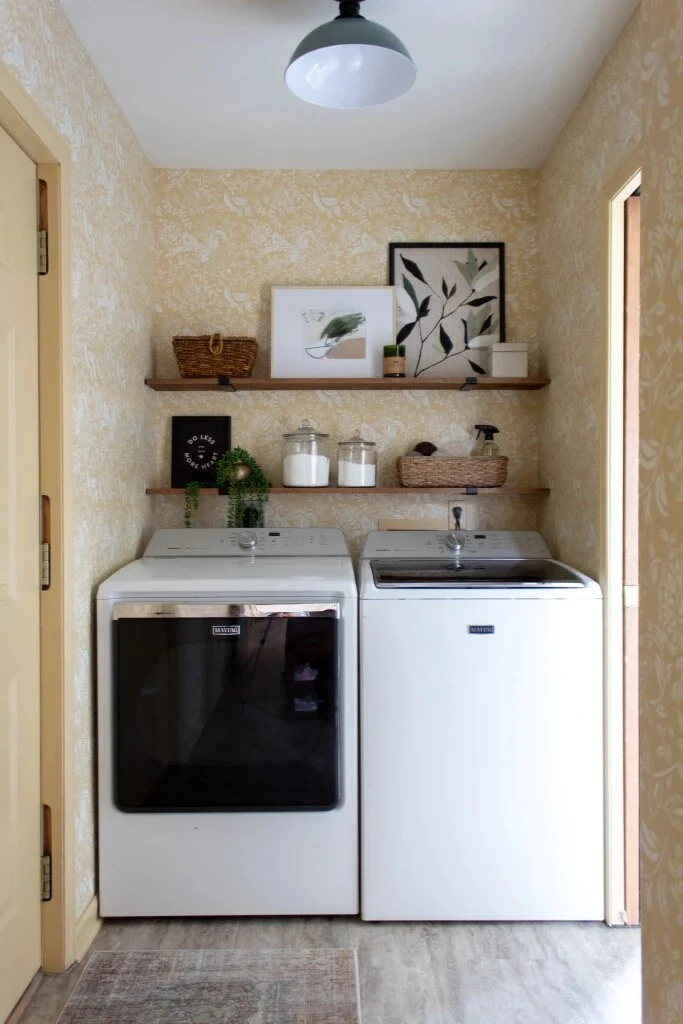
Closets & Small Spaces: A stenciled pattern adds an unexpected pop of personality in a low-traffic area.
Powder Rooms: Since these rooms are typically small, you can get a big impact without a huge time investment.
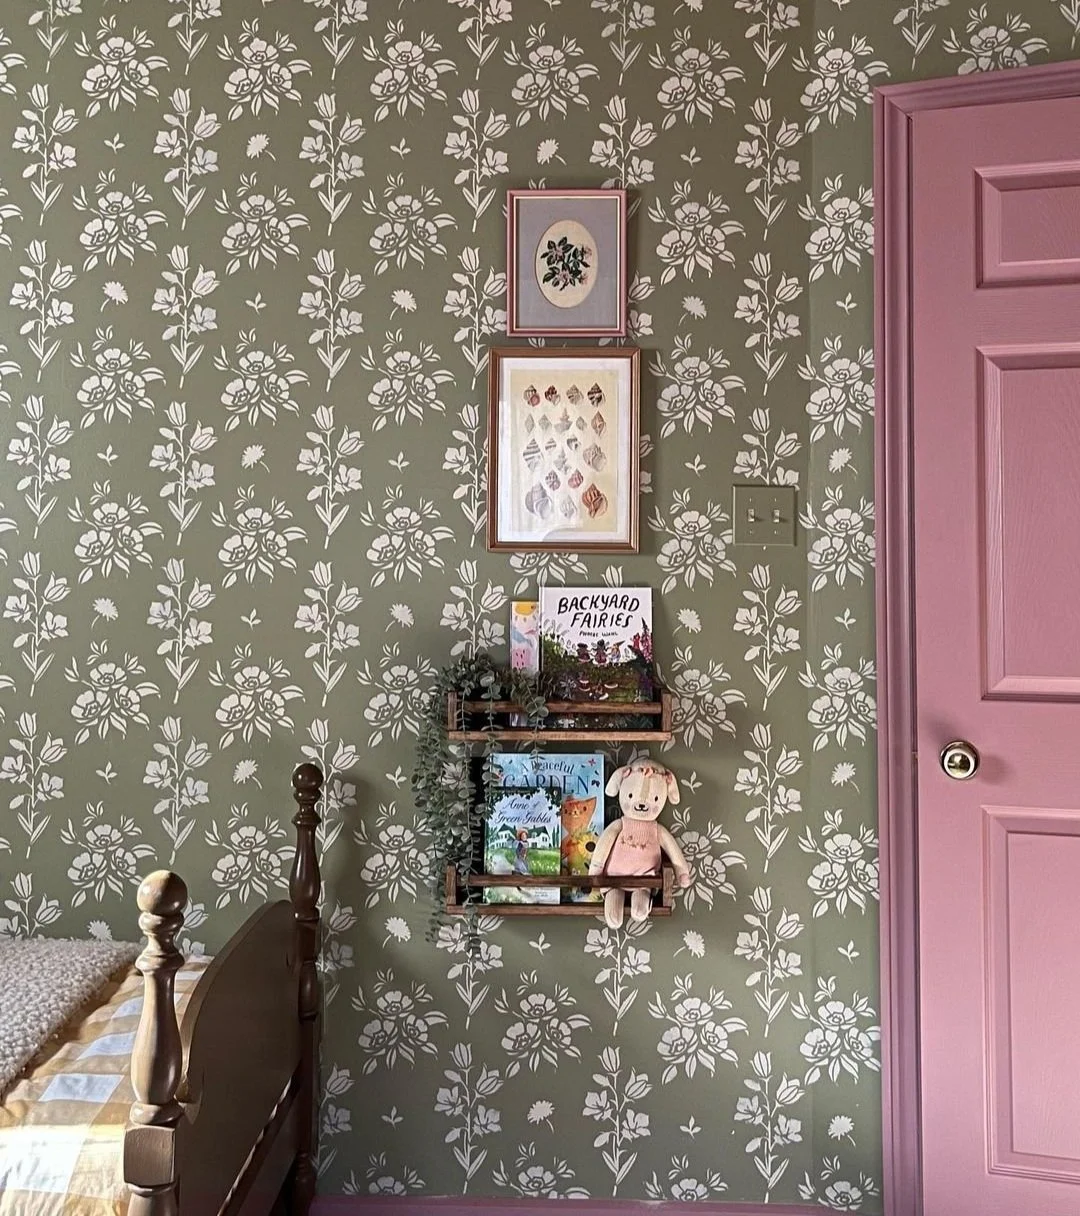
Kids’ Rooms: Stencils allow you to create fun, customized designs that can evolve as your child grows.
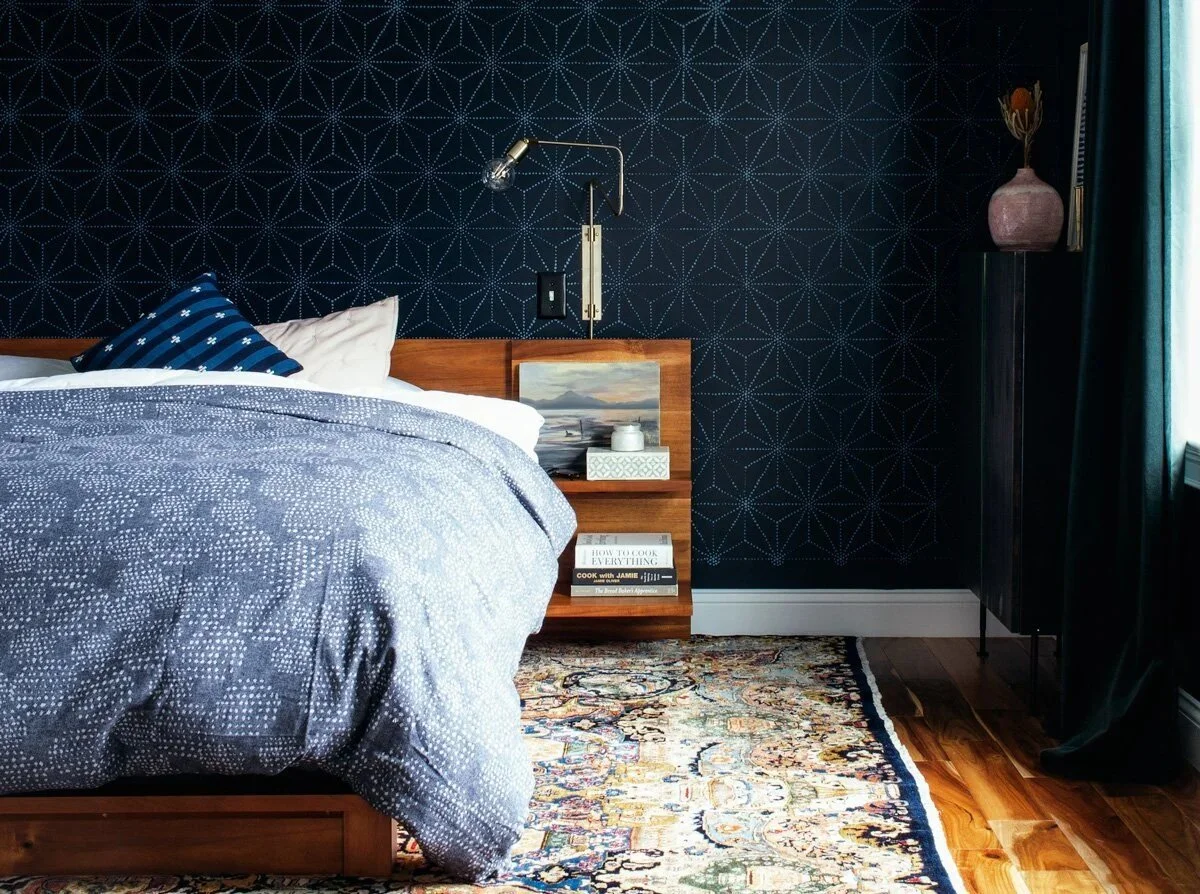
Accent Walls: Instead of covering an entire room, focusing on one feature wall cuts down on time and effort while still making a statement.
What You Need to Get Started
To create your own faux wallpaper look, you’ll need these supplies:
Stencil(s) (pre-made or custom-cut)
Paint (a base color and one or more stencil colors)
Stencil brush or foam roller
Painter’s tape (to secure the stencil)
Level or measuring tape (to ensure even placement)
Small brush (for touch-ups)
A pack of microfiber cloths (to wipe excess paint off of your stencil and prevent paint building up)
Tips for a Flawless Finished Project
Start with a Smooth Surface: Paint adheres best to clean, smooth walls. If your walls are textured, expect some extra touch-up work.
Use a Minimal Amount of Paint: Overloading your brush or roller can lead to bleeding under the stencil. Dab off excess paint before applying.
Watch for Smearing: Be mindful when repositioning the stencil, especially if you’re working over freshly painted areas.
Clean the Stencil Regularly: Paint buildup can cause messy edges. Wipe your stencil clean every few repetitions for the best results.
Plan for Drying Time: Allow each section to dry slightly before moving the stencil to prevent smudging.

Stenciling is a great way to get a wallpaper look without the high cost or long-term commitment. While it requires patience, the end result is a custom, hand-painted design that’s uniquely yours. With the right prep and techniques, you can achieve a beautiful, patterned wall that looks just as stylish as wallpaper—at a fraction of the price.